Peanut Butter Brownie
Peanut Butter Brownie
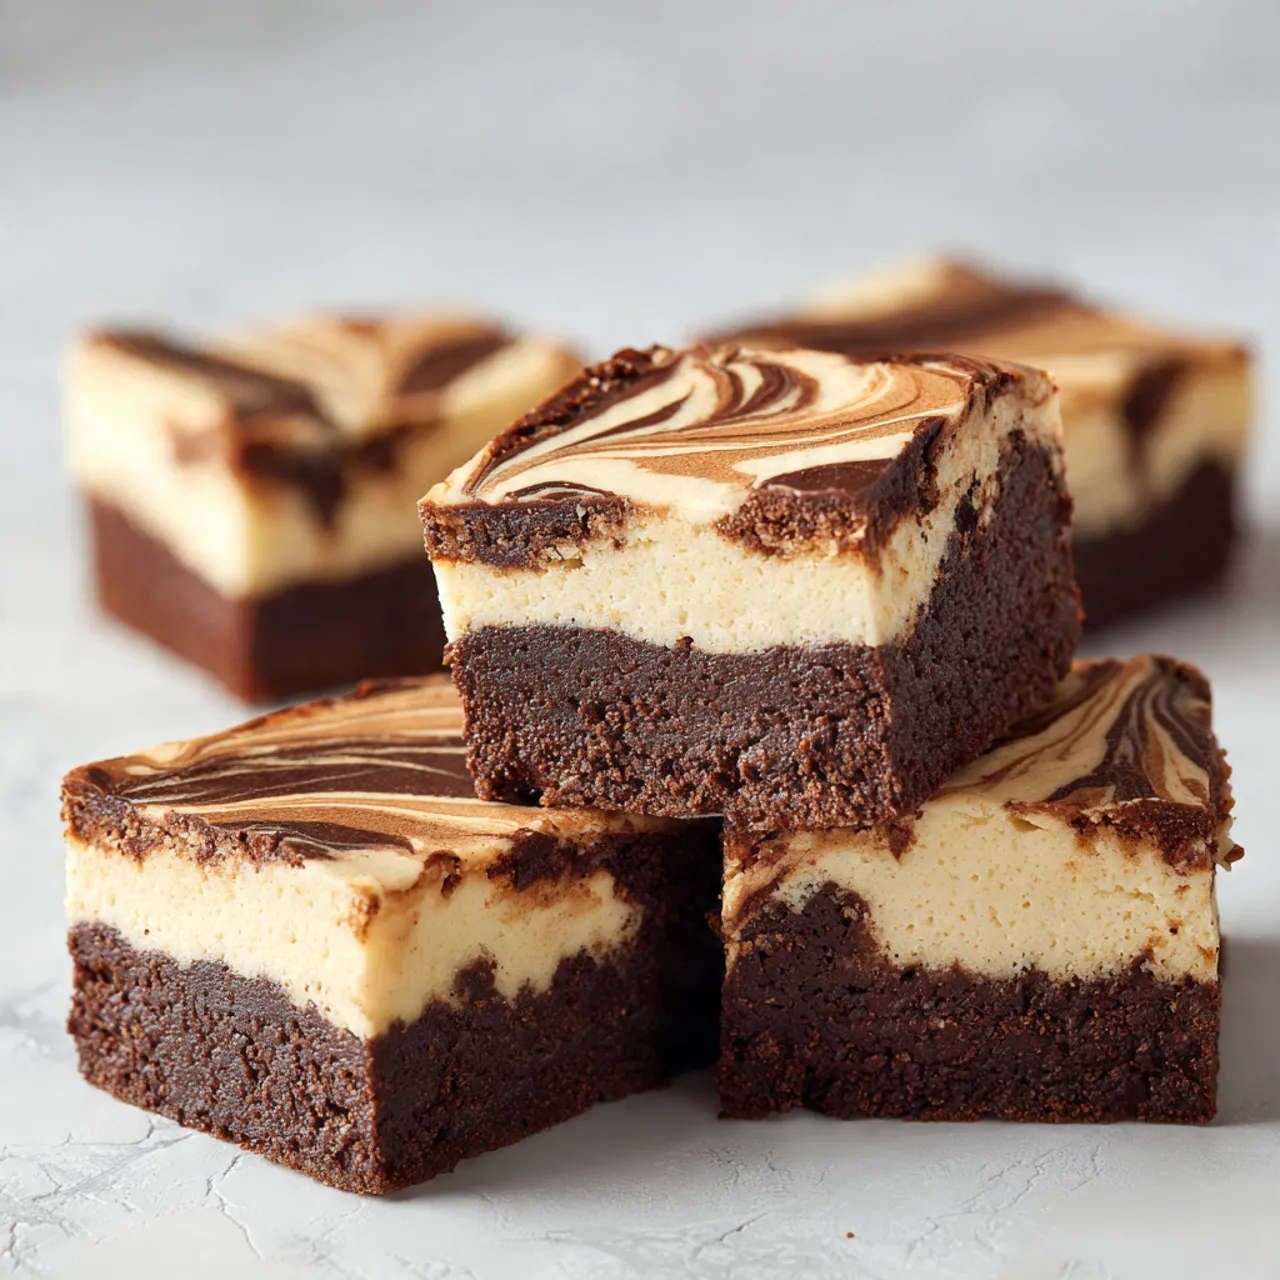
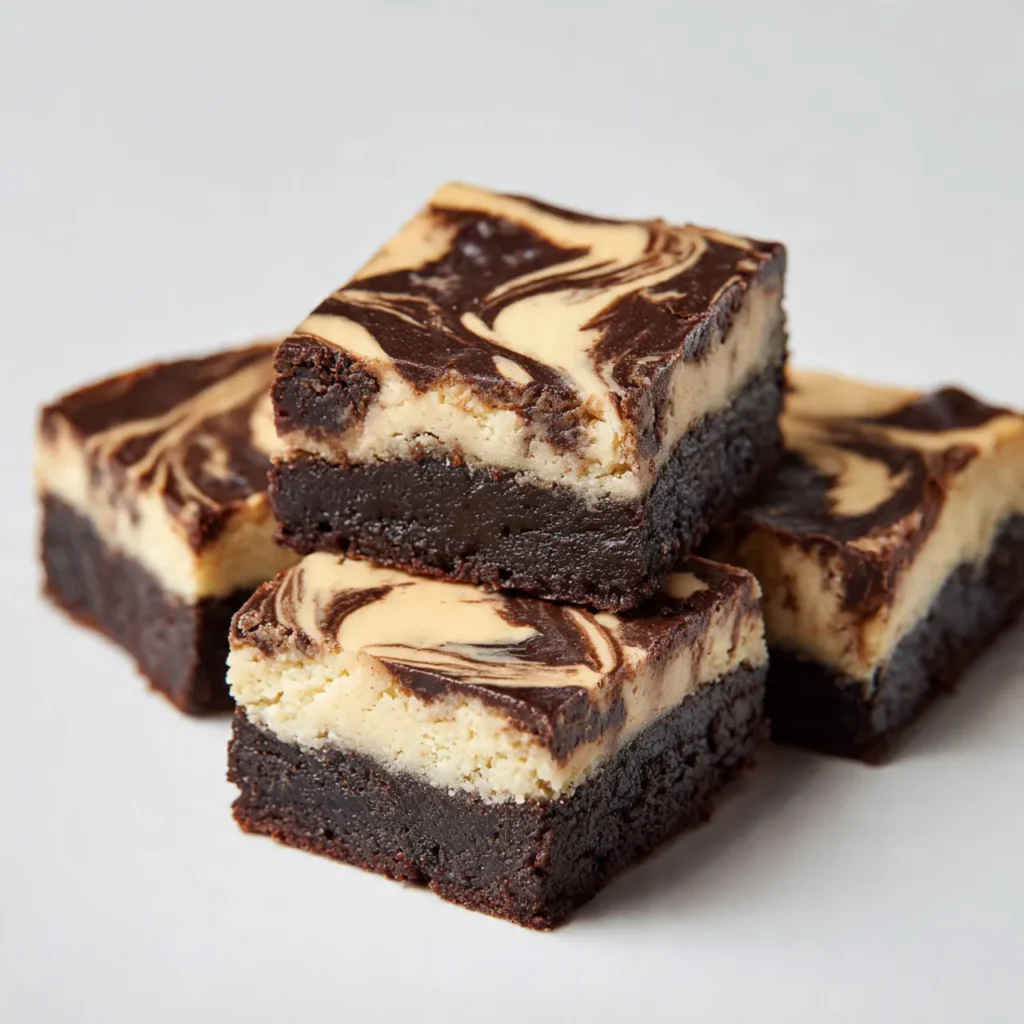
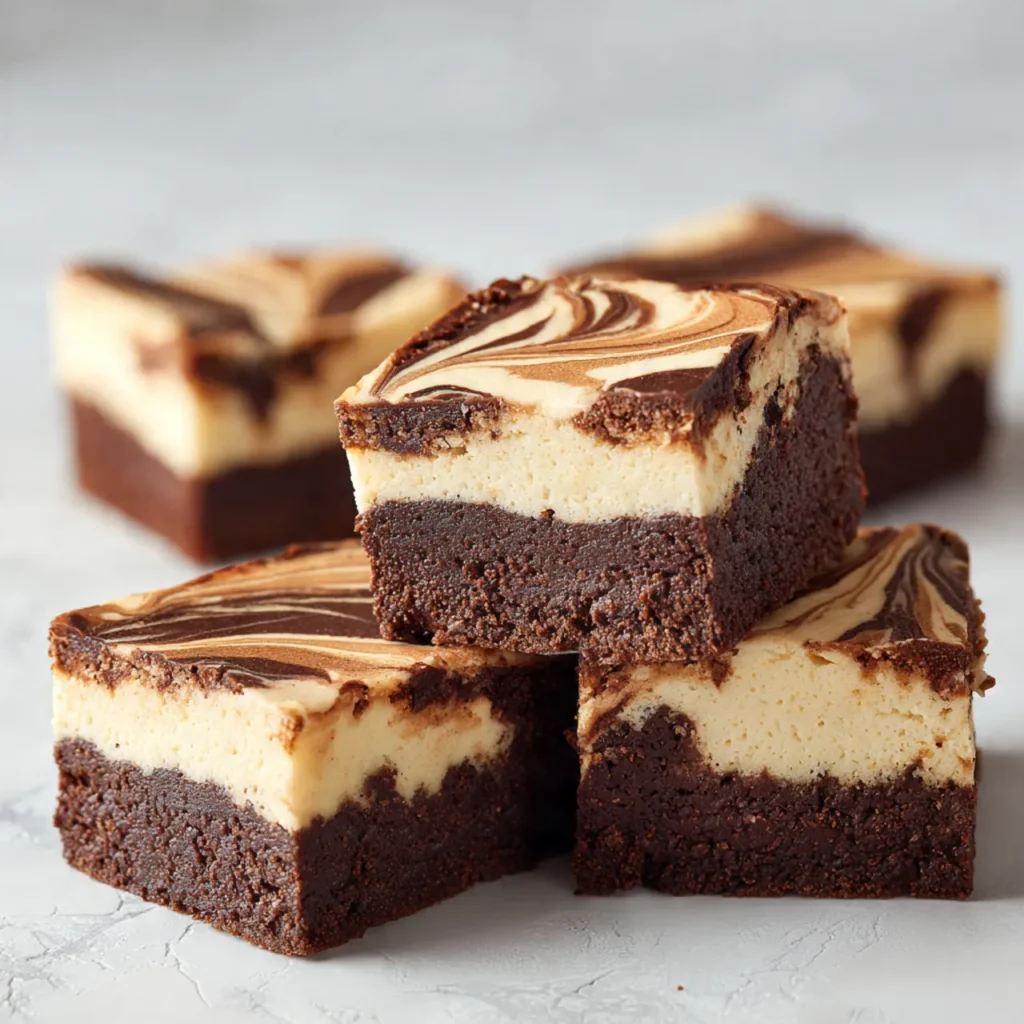
Who can resist the rich aroma of brownies baking in the oven? This indulgent Peanut Butter Brownie recipe marries the deep flavors of chocolate with creamy peanut butter, creating a treat that’s perfect for cozy evenings, family gatherings, or just a sweet escape after a busy day. With simple ingredients, you’ll love how easy it is to whip these up on a whim. Grab your apron, and let’s get started!
Why You Will Love This Recipe
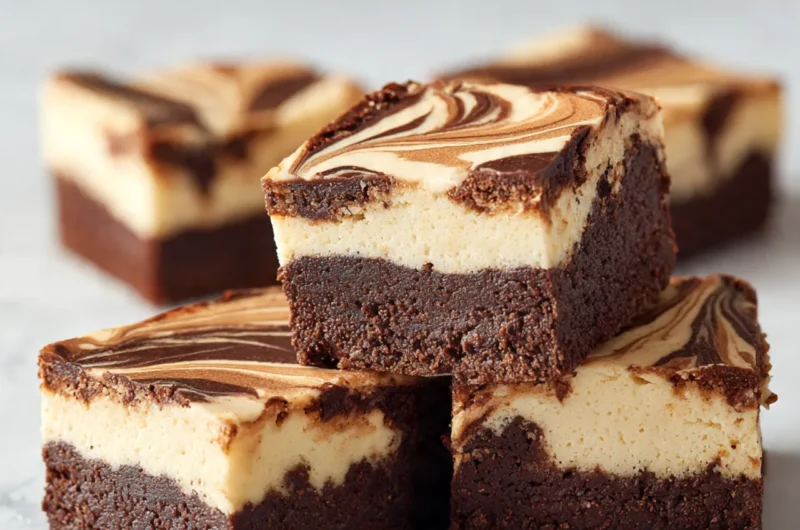
Wondering why this Peanut Butter Brownie recipe stands out? First, it’s all about the flavor—think chocolatey depths paired perfectly with smooth peanut butter swirls. Plus, these delights are incredibly easy to make, perfect for weeknight family treats or a sweet addition to your gatherings. You can even stash leftovers in the freezer for those late-night cravings! Budget-friendly and crowd-pleasing, this recipe checks all the boxes for a delicious dessert.
Ingredients
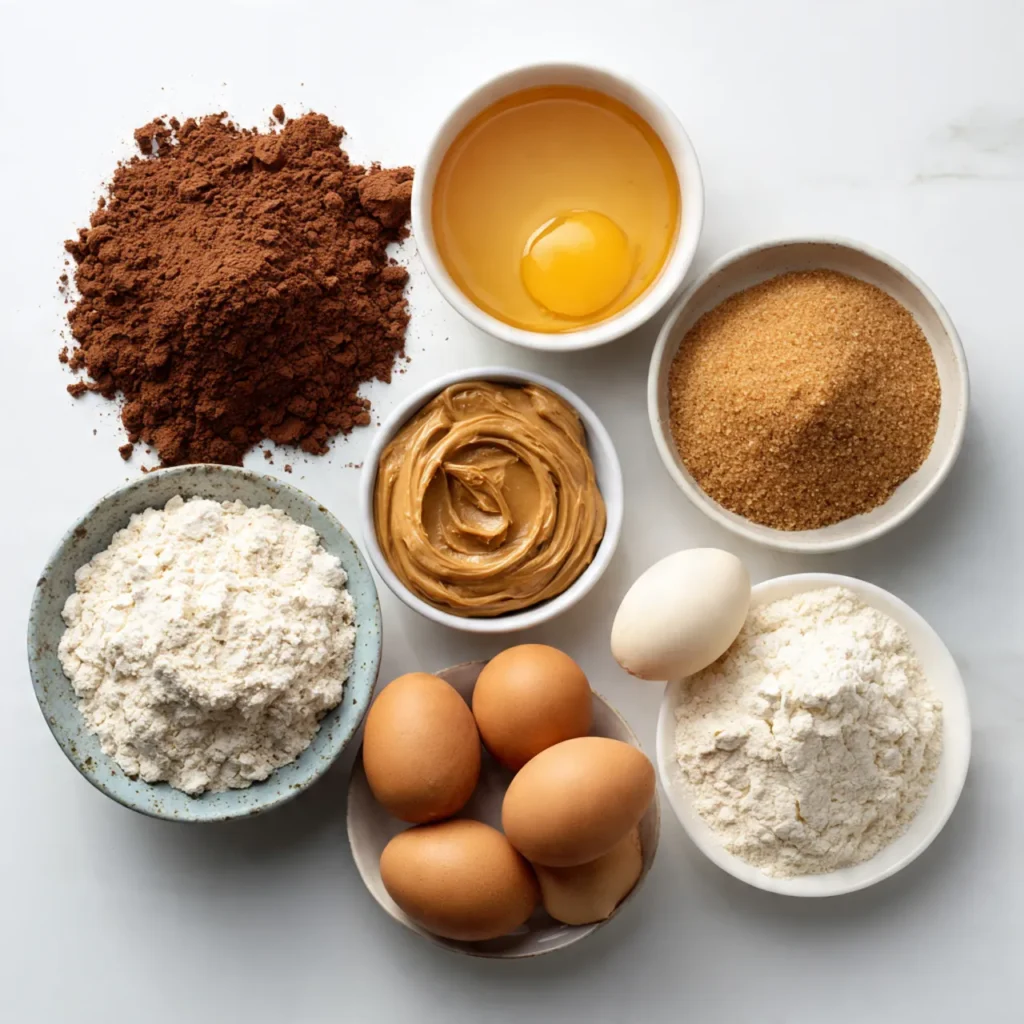
For the richest flavor, try using semi-sweet chocolate chips, which melt beautifully and enhance the brownie’s texture.
-
- 1/2 cup unsalted butter
-
- 1 cup semi-sweet chocolate chips
-
- 1 cup granulated sugar
-
- 2 large eggs
-
- 1 teaspoon vanilla extract
-
- 1/3 cup all-purpose flour
-
- 1/4 teaspoon salt
-
- 1/2 cup creamy peanut butter
To make less for 2 people, halve the ingredient quantities. If you’re feeding a crowd, simply double everything.
Instructions
Step 1: Preparation
Start by preheating your oven to 350°F (175°C). Grease an 8×8-inch baking pan or line it with parchment paper for easy removal later.
Step 2: Main Cooking Process
In a medium saucepan, melt the butter and semi-sweet chocolate chips over low heat, stirring constantly until smooth and combined. The rich aroma will fill your kitchen!
Step 3: Combining Ingredients
Once melted, remove the saucepan from heat and stir in sugar, eggs, and vanilla until well blended. You’ll see a glossy texture forming as you mix.
Step 4: Finishing & Final Simmer
Gently fold in flour and salt until just combined, ensuring no dry flour remains. Then, swirl in the peanut butter, creating a marbled effect. Pour the batter into the prepared pan and smooth the top.
Why This Recipe Works for Busy Days
Need a quick dessert after a long day? This Peanut Butter Brownie recipe comes together in no time! You can bake it ahead of time and store any leftovers, making it a perfect option for meal prep or last-minute get-togethers. Easy to make and even easier to enjoy, it’s a dessert that fits into a busy lifestyle.
Tips & Tricks
-
- Be Gentle: Avoid overmixing the batter; it should remain chewy rather than cake-like.
-
- Peanut Butter Swirl: Warm your peanut butter slightly so it’s easier to swirl into the brownie mix without clumping.
-
- Portion Control: For smaller gatherings, the recipe can easily be scaled to make half. Just remember to adjust the baking time slightly.
-
- Baking Time: If you double the recipe for bigger events, it’ll need a few extra minutes in the oven—keep an eye on it!
Variations
-
- Nutty Version: Add chopped nuts like walnuts or pecans for an extra crunch. They pair wonderfully with the smoothness of peanut butter.
-
- Gluten-Free Option: Swap the all-purpose flour for a gluten-free flour blend. Ensure all your ingredients are certified gluten-free, and enjoy!
-
- Nut Butter Swap: Try swapping out peanut butter for almond or cashew butter. Each gives the brownies a unique twist.
-
- Minty Boost: Incorporate mint extract for fresh flavor. A hint of peppermint elevates the chocolate notes beautifully.
Serving Suggestions
-
- With Ice Cream: Serve warm brownies with a scoop of vanilla ice cream for an indulgent dessert.
-
- Fresh Berries: Compliment your brownies with fresh raspberries or strawberries for a fruity contrast.
-
- Coffee Pairing: Enjoy these brownies with a cup of freshly brewed coffee for the perfect afternoon snack.
-
- Nut Toppings: Add a sprinkle of crushed nuts or a drizzle of chocolate sauce for an impressive finish when serving guests.
Storage Instructions
-
- Fridge Storage: Keep brownies in an airtight container in the fridge for up to a week. They taste great chilled!
-
- Reheating: Warm individual pieces in the microwave for a few seconds. This revives their fudgy goodness.
-
- Freezing: Cut brownies into squares and freeze in a sealed container. They last up to three months—perfect for future sweets cravings!
-
- Make-Ahead Tips: Prep your brownies ahead of time and bake them a day or two before serving. Just warm them before indulging!
Recipe Timing
Prep Time: 15 minutes
Cook Time: 25 minutes
Rest Time: 10 minutes
Total Time: 50 minutes
Nutrition Information
Calories: 280 per serving
Protein: 4g
Key Nutrients: Iron, Calcium
Values are estimates and can vary based on ingredients used and portion sizes.
FAQs
-
- Can I make these ahead of time? Yes, these brownies can be made a day or two in advance and stored in the fridge.
-
- What’s a common mistake? Overmixing the batter can make them cakey instead of fudgy; mix until just combined.
-
- Can I substitute ingredients? Absolutely! Swap out the peanut butter for your favorite nut butter or add chocolate chips.
-
- What if my brownies are too thick? Make sure to measure the flour accurately; too much flour can lead to thicker brownies.
-
- How should I store leftovers? Keep leftovers in an airtight container at room temperature or in the fridge.
-
- Can I adjust the flavors? Yes! You can add different extracts like almond or coconut to change the flavor profile.
Conclusion
Making these Peanut Butter Brownies is not just about satisfying that sweet tooth; it’s an invitation to indulge in a little comfort. You can customize them to suit your taste, and they’ll quickly become a favorite treat in your home. Whether you make them for a busy weeknight or a special occasion, you’ll find joy in the rich flavors and soft texture. So, roll up your sleeves, and get ready to enjoy this indulgence. Happy baking!
Peanut Butter Brownie
Course: Butter Recipes4
servings20
minutes15
minutes300
kcalCrispy, golden fried chicken with a sticky, sweet, and spicy glaze. Perfect for cozy dinners, casual gatherings, or weekend indulgence. Crunchy outside, juicy inside, and easy enough for home cooking.
Ingredients
For the Chicken:
Chicken wings or drumettes – 1 kg
All-purpose flour – 1/2 cup
Cornstarch – 1/2 cup
Salt – 1 teaspoon
Black pepper – 1/2 teaspoon
Garlic powder – 1/2 teaspoon
Oil for frying – as needed
For the Sauce:
Gochujang (Korean chili paste) – 3 tablespoons
Soy sauce – 2 tablespoons
Honey – 2 tablespoons
Brown sugar – 1 tablespoon
Garlic (minced) – 2 cloves
Rice vinegar – 1 tablespoon
Sesame oil – 1 teaspoon
Directions
- Step 1: Preparation
Rinse and pat dry the chicken. Mix flour, cornstarch, salt, pepper, and garlic powder in a large bowl. Toss chicken in the mixture until evenly coated. Set aside. - Step 2: Frying the Chicken
Heat oil in a deep pan to 350°F (175°C). Fry chicken in batches for 6–8 minutes until golden brown and crispy. Drain on paper towels and let rest for 5 minutes. - Step 3: Making the Sauce
In a small saucepan, combine gochujang, soy sauce, honey, brown sugar, garlic, rice vinegar, and sesame oil. Heat over medium, stirring until smooth and slightly thickened, about 3–5 minutes. - Step 4: Coating the Chicken
Toss fried chicken in the warm sauce until fully coated. Serve immediately for maximum crunch and flavor.