Butter Tarts
Butter Tarts
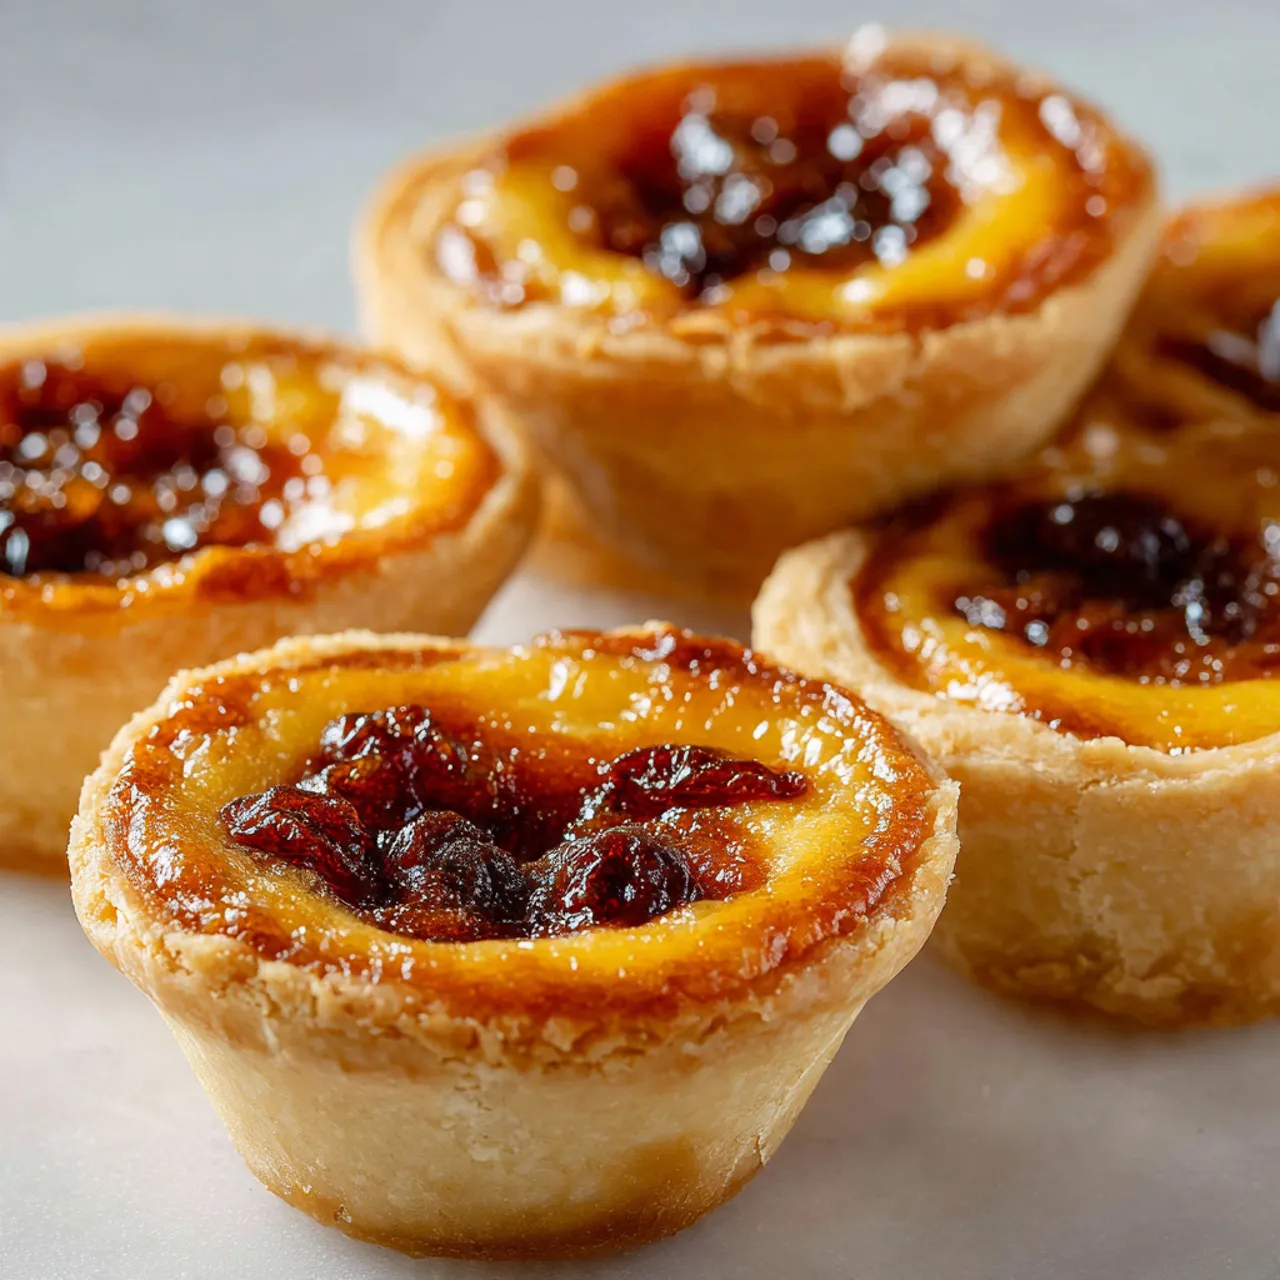
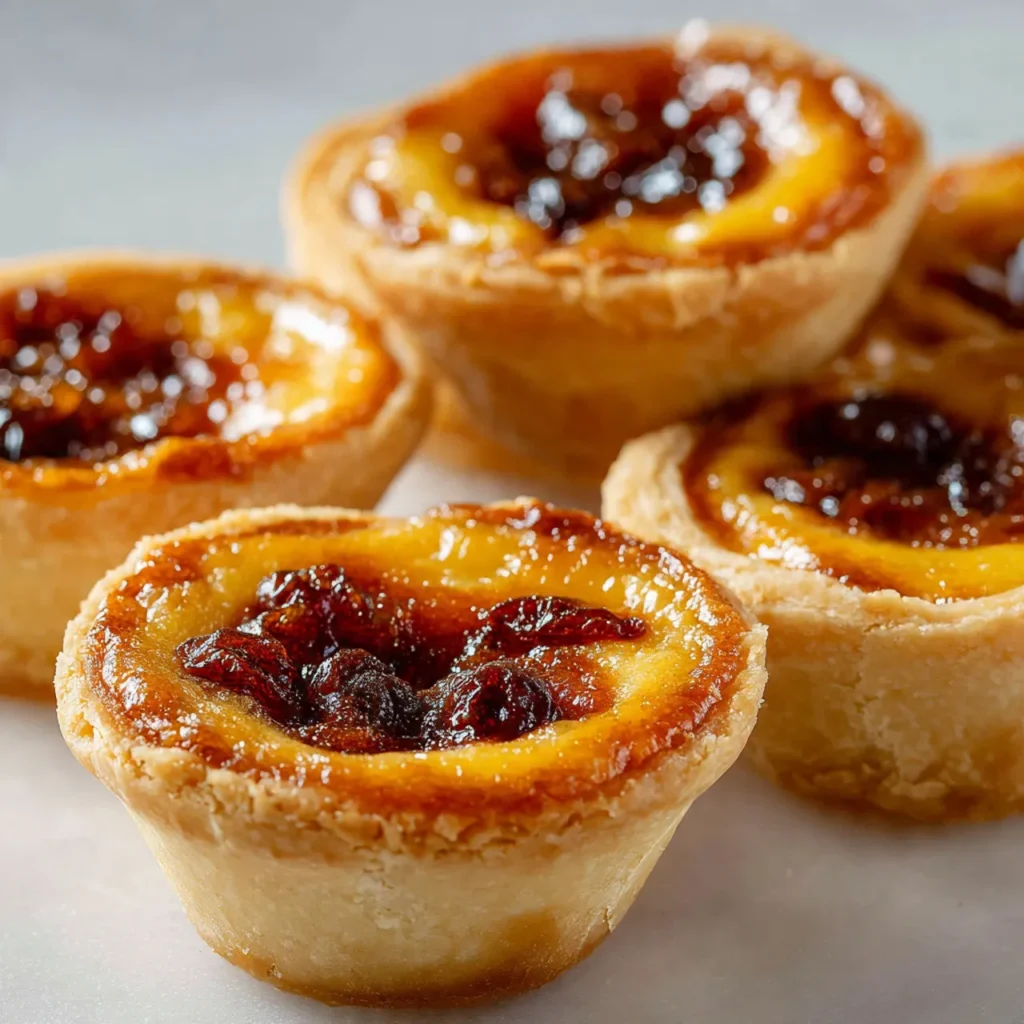
Butter tarts are more than just a dessert; they’re a cozy piece of Canadian heritage that fills homes with warmth and nostalgia. These little pastries hold a rich mixture of butter, sugar, and eggs, creating a sweet, gooey center that’s hard to resist. Perfect for busy evenings or family gatherings around a warm table, there’s something uniquely comforting about whipping up a batch of these delightful tarts. If you’ve never made them before, you might just find it’s easier than you think!
Why You Will Love This Recipe
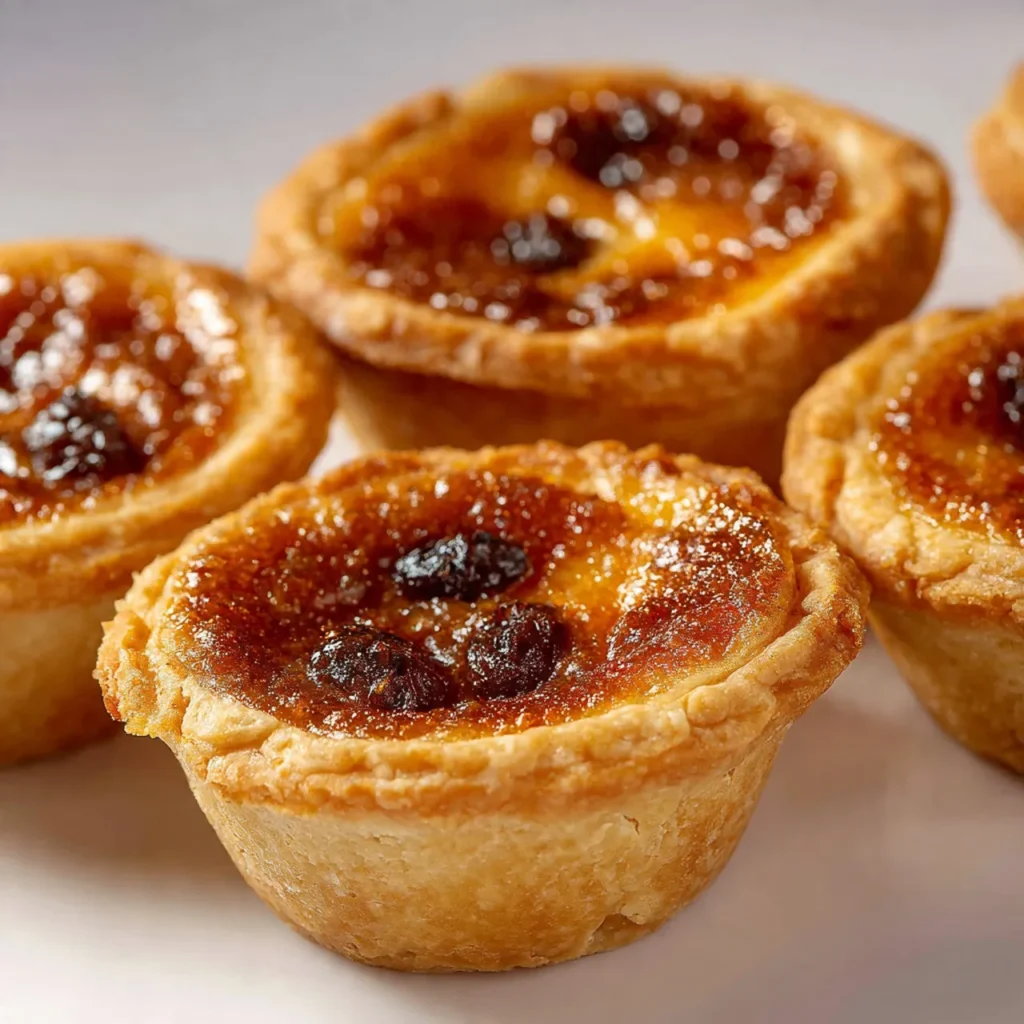
Are you on the hunt for a dessert that feels like a warm hug? Butter tarts have that cozy factor that makes them ideal for gatherings or simple weeknight treats. They’re not only delicious but incredibly easy to prepare—great for a last-minute sweet craving! You can even enjoy them as leftovers (if they last that long!). Plus, they’re budget-friendly, requiring just a handful of pantry staples. Whether you choose to serve them straight from the oven or freeze them for later, these little gems are sure to become a family favorite.
Ingredients
Start with fresh, high-quality ingredients for the best flavor.
-
- 1 cup all-purpose flour
-
- 1/4 cup unsalted butter, softened
-
- 1/4 cup granulated sugar
-
- 1/4 teaspoon salt
-
- 1–2 tablespoons cold water
-
- 1/2 cup brown sugar, packed
-
- 1/4 cup corn syrup
-
- 1–2 tablespoons butter, melted
-
- 1 large egg
-
- 1 teaspoon vanilla extract
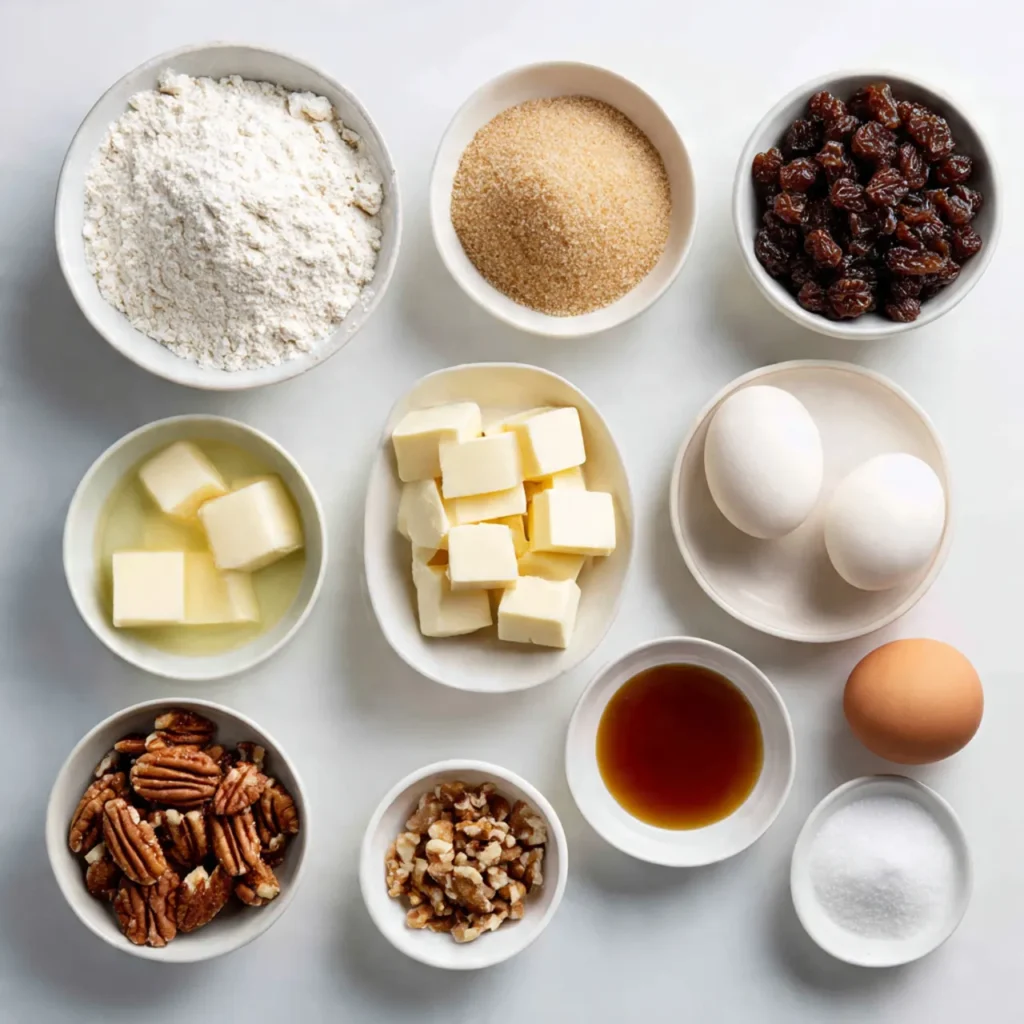
For 2 servings, simply halve the quantities. For larger gatherings, just multiply by the number of servings you need—no fuss at all!
Instructions
Step 1: Preparation
Are you unsure how to start? Begin by mixing flour, softened butter, sugar, and salt in a large bowl. Gradually add cold water until a dough forms, then wrap it in plastic and chill for about 30 minutes.
Step 2: Main Cooking Process
Do you need to bake a crust? Preheat your oven to 350°F (175°C). Roll out the chilled dough on a floured surface and cut it into circles. Fit them into a muffin tin, pressing down gently.
Step 3: Combining Ingredients
Wondering how to achieve that gooey filling? In another bowl, whisk together brown sugar, corn syrup, melted butter, egg, and vanilla. Mix until well combined, then carefully pour this mixture into each crust, filling them about three-quarters full.
Step 4: Finishing & Final Simmer
Are your tarts ready for baking? Bake for about 20-25 minutes until the filling is bubbly and the crust is lightly golden. Let them cool before serving to allow the filling to set.
Why This Recipe Works for Busy Days
Struggling to find time for desserts during hectic evenings? Butter tarts come to the rescue! Preparation is quick, and you can even make the dough ahead of time. Plus, any leftovers can be enjoyed for days, making it a laid-back, weeknight-friendly treat that’s perfect for busy lifestyles.
Tips & Tricks
-
- Keep an eye on your crust: Overbaking can lead to a dry tart. Aim for a golden color and bubbly filling for best results.
-
- Avoid overflowing: Don’t fill the pastry shells too much; the filling expands while baking—you want to keep it contained!
-
- Scaling portions: If making for fewer or more people, remember it’s all about maintaining that perfect balance of crust and filling. Just adjust your quantities accordingly.
-
- Don’t skip chilling the dough: This step makes the crust flaky and prevents shrinking when baked.
Variations
-
Meaty version: Add cooked bacon or chopped nuts to the filling for a savory twist. This adds texture and a bit of saltiness that beautifully complements the sweetness.
-
Vegetarian option: Why not swap the egg with a flax seed mixture (1 tablespoon flaxseed meal mixed with 3 tablespoons water) for a tasty plant-based alternative? The filling will still be sweet and satisfying!
-
Ingredient swap: Use maple syrup instead of corn syrup for a rich, earthy flavor that screams Canadian goodness.
-
Flavor or herb boost: Infuse your filling with a hint of orange zest or ground cinnamon for an aromatic lift. This adds a nice seasonal touch, especially in fall.
Serving Suggestions
-
Warm with ice cream: Serve warm with a scoop of vanilla ice cream for the ultimate cozy vibe. This simple addition elevates the experience!
-
Pair with coffee or tea: Offer these tarts alongside a steaming cup of coffee or tea to make it a relaxing treat time.
-
Dress it up: Lightly drizzle with chocolate sauce or dust with powdered sugar when serving for a beautiful presentation—perfect for impressing family or friends!
-
Adjusting for a crowd: If you’re hosting, serve half batches on multiple plates for a beautiful dessert spread just waiting for guests to dig in.
Storage Instructions
-
Fridge storage: Keep any leftovers in an airtight container in the fridge for up to 5 days. They stay deliciously chewy!
-
Reheating: For a lovely warm treat, simply pop them in the microwave for about 10 seconds—just be careful not to overheat!
-
Freezing: If you’d like to save them longer, freeze unbaked tarts for up to a month. Just bake straight from the freezer, adding time as needed.
-
Make-ahead tips: The crust can be prepared a day ahead and kept wrapped in the fridge. Just roll it out when you’re ready to fill and bake!
Recipe Timing
Prep Time: 30 minutes
Cook Time: 25 minutes
Total Time: 55 minutes
Nutrition Information
Calories: 240-260 per serving
Protein: 3-5 grams
Key nutrients: Calcium and Iron
Values are estimates and will vary based on ingredients used.
FAQs
-
Can I make these ahead of time? Yes! You can prepare the dough in advance and refrigerate it overnight.
-
What’s a common mistake? Overbaking can lead to tough tarts, so keep an eye on them towards the end!
-
What can I substitute for corn syrup? Maple syrup works great as a natural alternative, giving it a unique flavor.
-
What if my filling is too thin? If your filling isn’t thickening, make sure to bake long enough; the heat helps set it.
-
How should I store leftovers? Keep them in an airtight container in the fridge for up to five days to keep their freshness.
-
Can I adjust the flavor? Absolutely! Adding spices like cinnamon or nutmeg will enhance the overall taste beautifully.
Conclusion
Butter tarts hold a special place in Canadian hearts and kitchens, thanks to their sweet, gooey goodness and lovely versatility. Every baker can make them their own by experimenting with flavors and fillings. Whether you’re pressing pastry or waiting for the sweet aroma to fill your home, cooking these tarts can be a delightful experience. The sweet story of butter tarts isn’t just about the recipe; it’s about making memories. So roll up your sleeves and get baking—you won’t regret it!
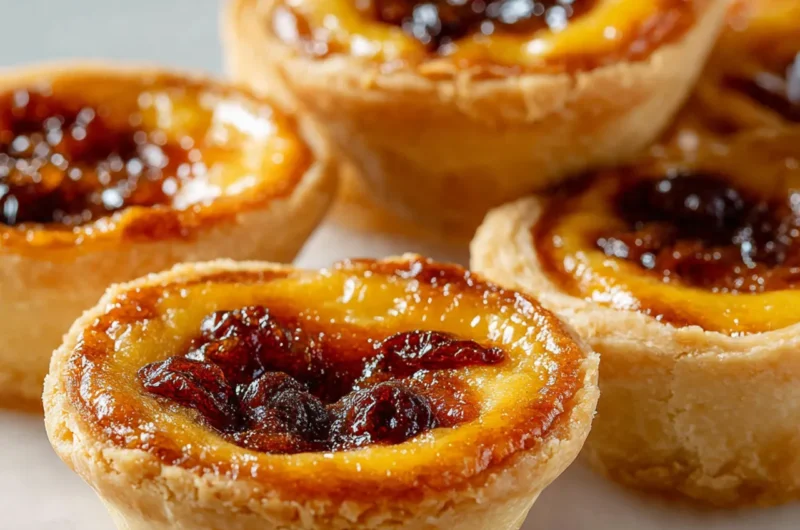
Butter Tarts
Course: Butter Recipes4
servings30
minutes25
minutes300
kcalDelight in these gooey, sweet butter tarts that capture the essence of Canadian comfort food.
Ingredients
1 cup all-purpose flour
1/4 cup unsalted butter, softened
1/4 cup granulated sugar
1/4 teaspoon salt
1–2 tablespoons cold water
1/2 cup brown sugar, packed
1/4 cup corn syrup
1–2 tablespoons butter, meltem
1 large egg
1 teaspoon vanilla extract
Directions
- Mix flour, butter, sugar, and salt in a bowl, adding cold water gradually until dough forms. Chill for 30 minutes.
- Preheat oven to 350°F (175°C). Roll out the dough and fit into a muffin tin.
- Whisk brown sugar, corn syrup, melted butter, egg, and vanilla together, then pour into each crust, filling three-quarters full.
- Bake for 20-25 minutes until bubbly and golden. Allow to cool before serving.