Homemade Peanut Butter
Homemade Peanut Butter
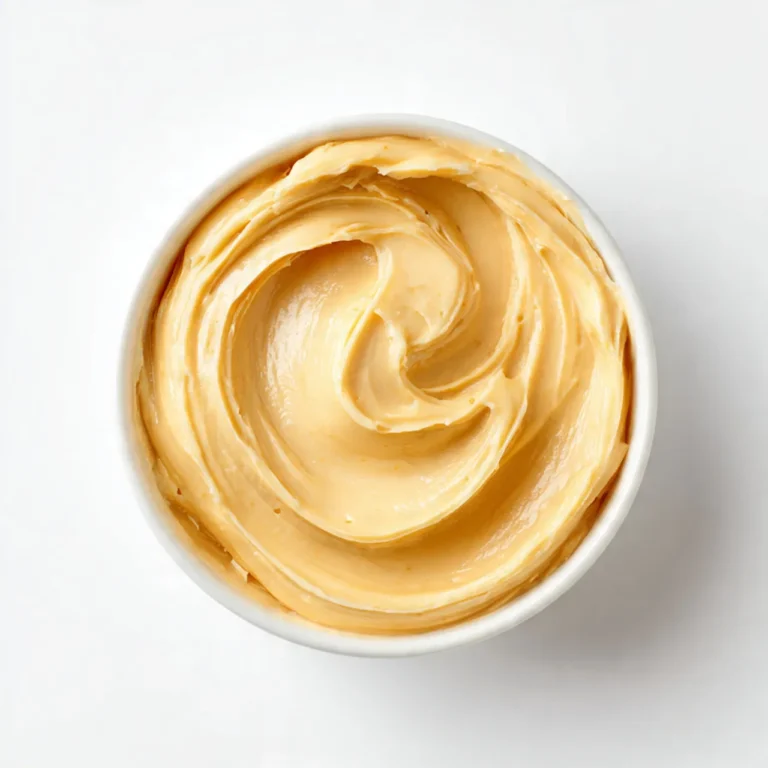
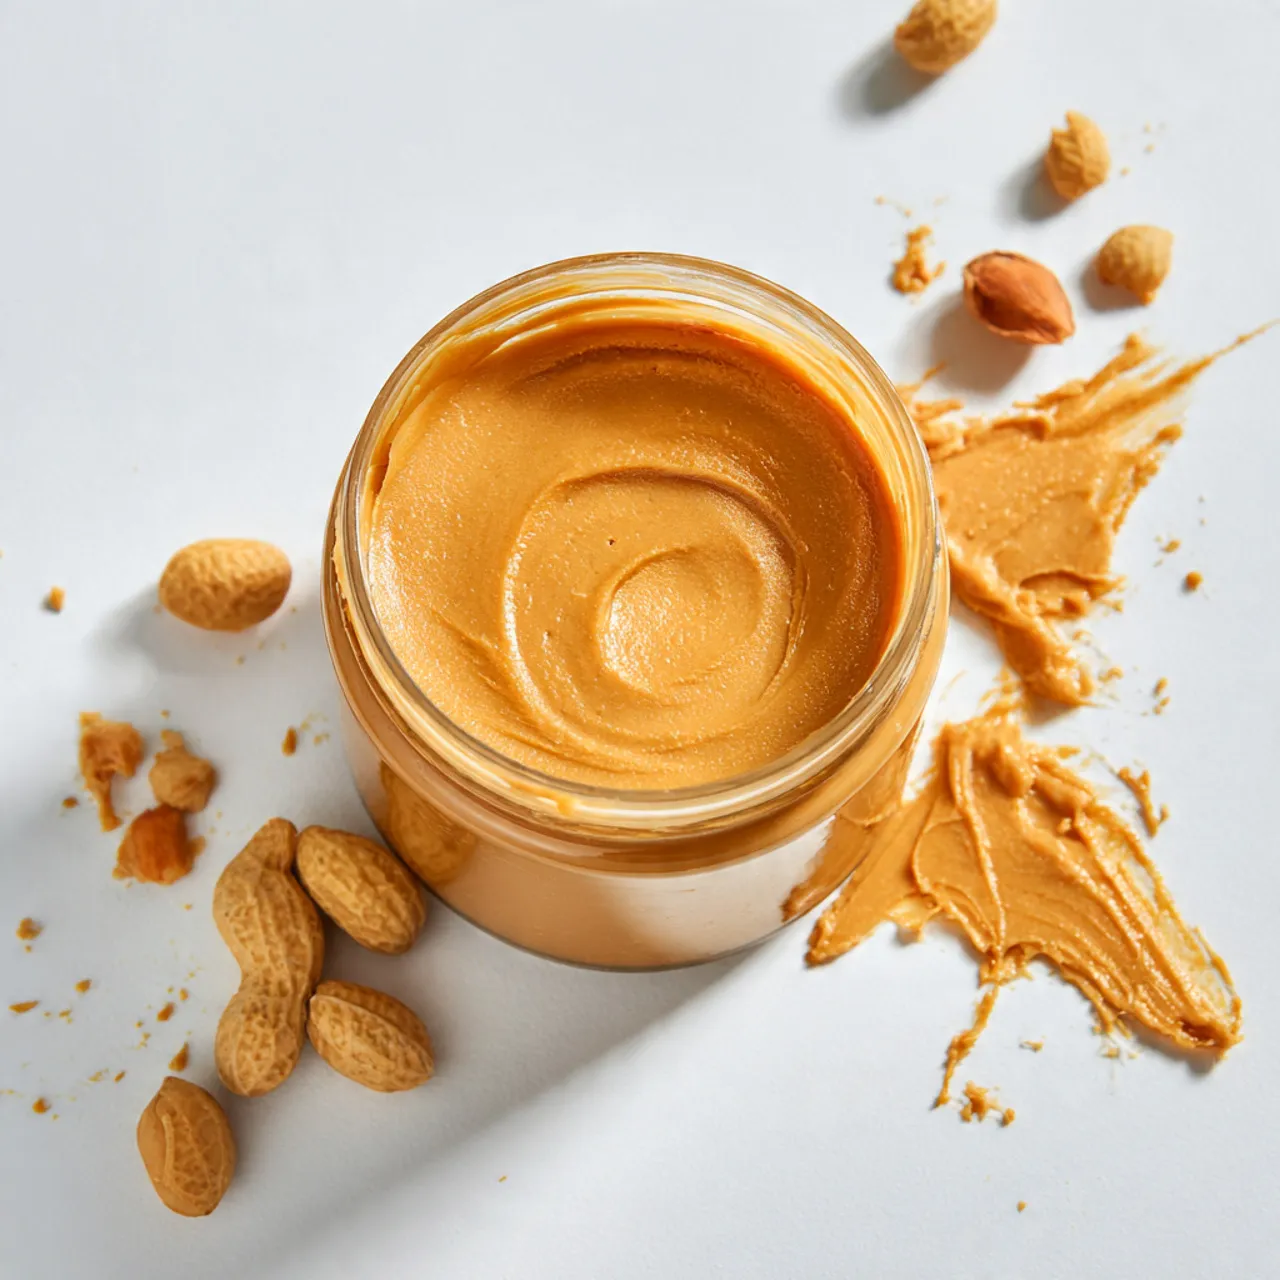
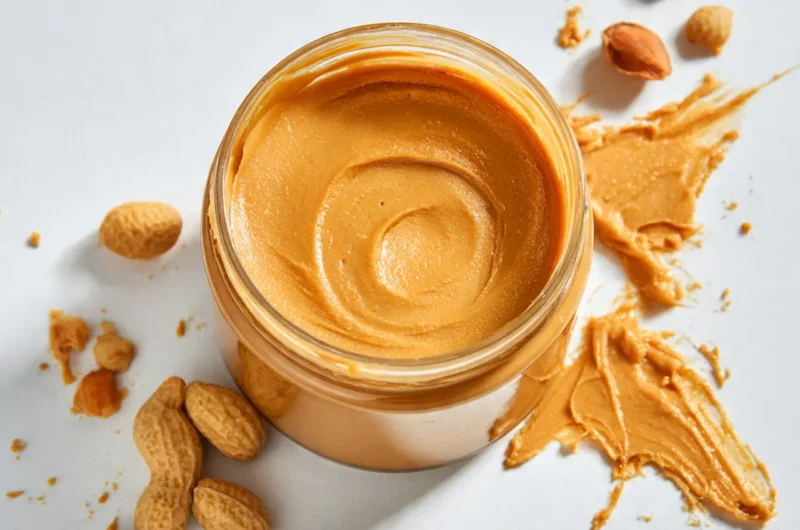
Making homemade peanut butter is so much easier than you might expect! It’s creamy, smooth, and can be tailored to your taste preferences. Whether you’re cozying up with a good book or prepping a quick snack for the kids, this DIY spread is a surefire hit. Plus, it’s a perfect way to use up that jar of peanuts sitting in your pantry.
Why You Will Love This Recipe
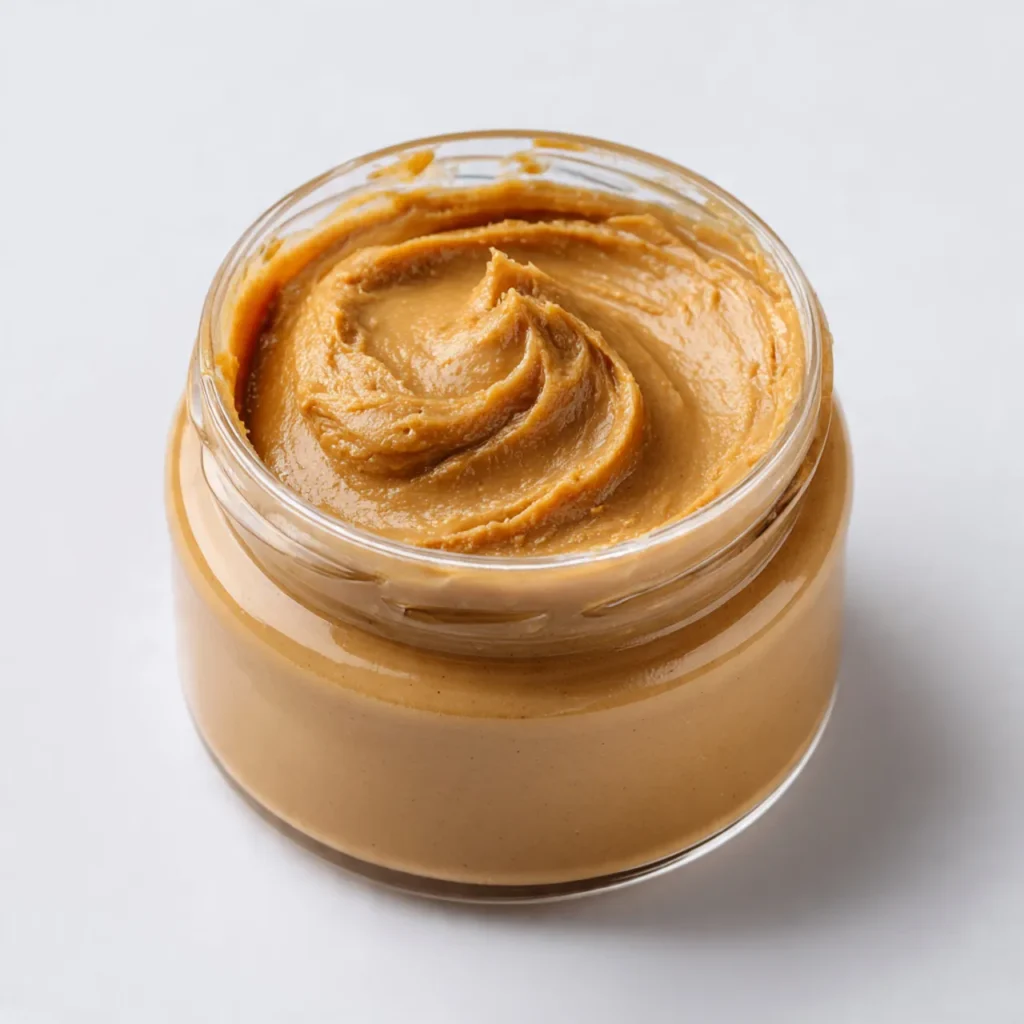
Why spend money on store-bought peanut butter when making your own is so simple? The fresh, nutty flavor you’ll achieve is miles apart from any jar on the shelf. Homemade peanut butter is not just wallet-friendly; it’s also customizable! You can control the sweetness, the texture, and even add a pinch of salt. This cozy, weeknight-friendly recipe will take only minutes and can be stored for later, making it ideal for busy days.
Ingredients
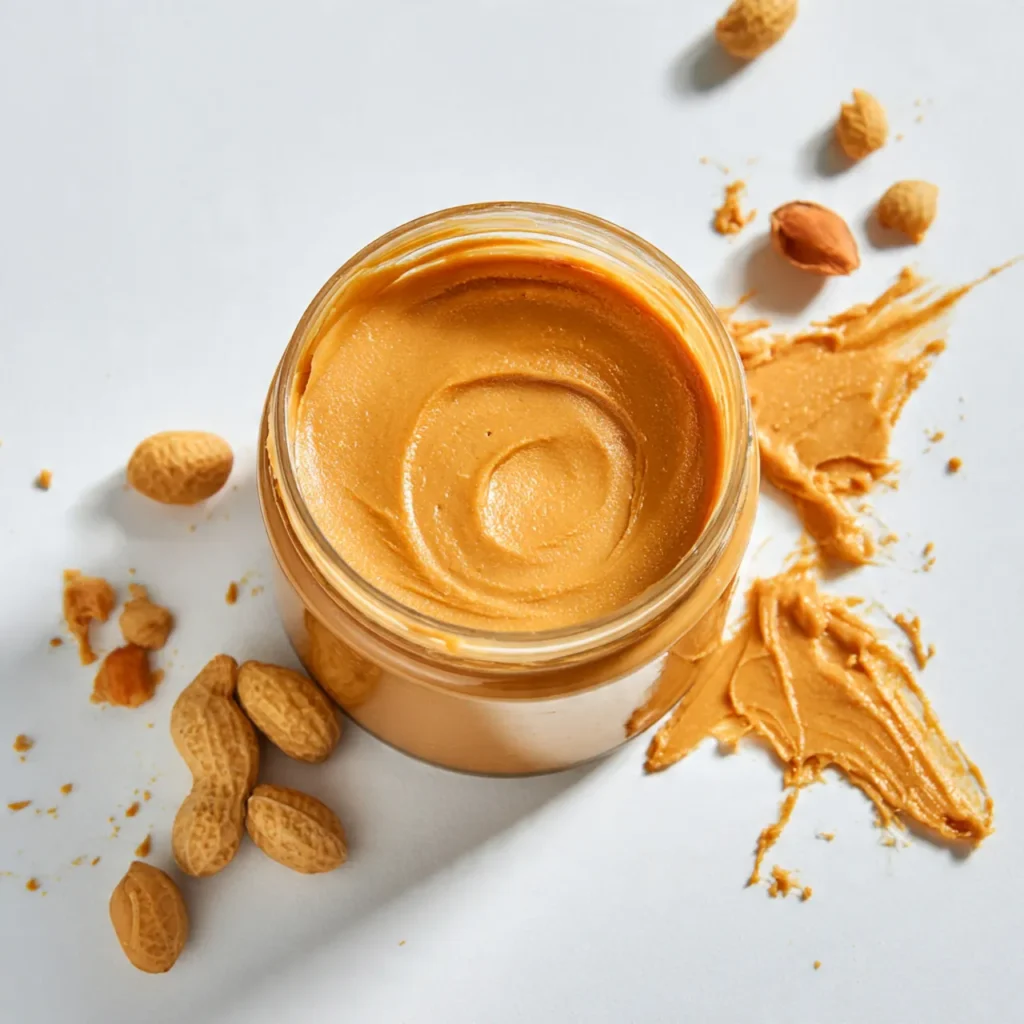
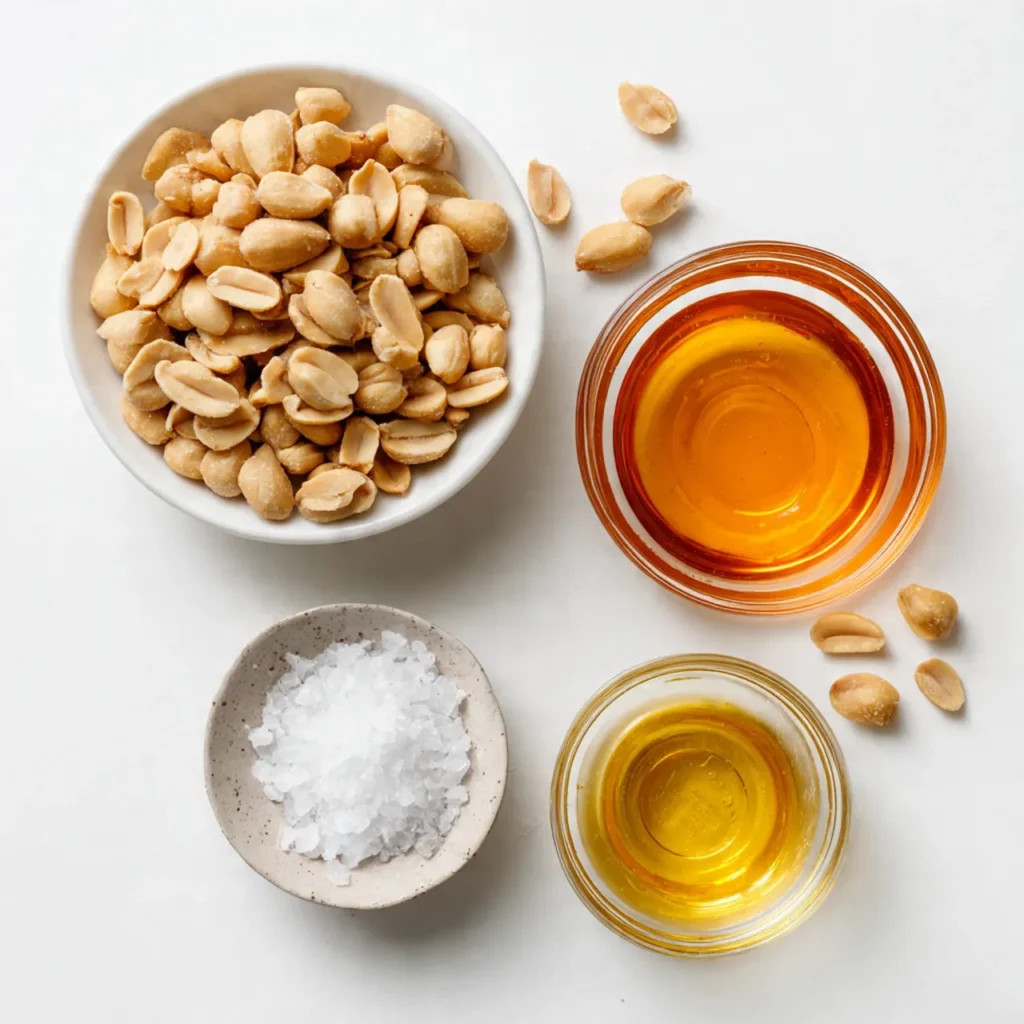
Choosing the right peanuts makes all the difference. Opt for unsalted, dry-roasted peanuts for the best flavor.
- 2 cups unsalted, dry-roasted peanuts
- 1-2 tablespoons honey or maple syrup (to taste)
- 1 tablespoon vegetable oil (optional, for creaminess)
- A pinch of salt (to taste)
For two people, use 1 cup of peanuts and adjust the other ingredients accordingly. For more than four, simply multiply the ingredients as needed.
Instructions
Step 1: Preparation
Start by gathering your dried roasted peanuts. You can either use a food processor or a high-speed blender for creamy results.
Step 2: Main Cooking Process
Add the peanuts to the processor and pulse them for about 2-3 minutes. You’ll hear them break down, first into crumbs and then into a creamy paste.
Step 3: Combining Ingredients
Once the peanuts turn creamy, add in honey or maple syrup, vegetable oil, and a pinch of salt. Pulse again until everything is well incorporated and smooth.
Step 4: Finishing & Final Simmer
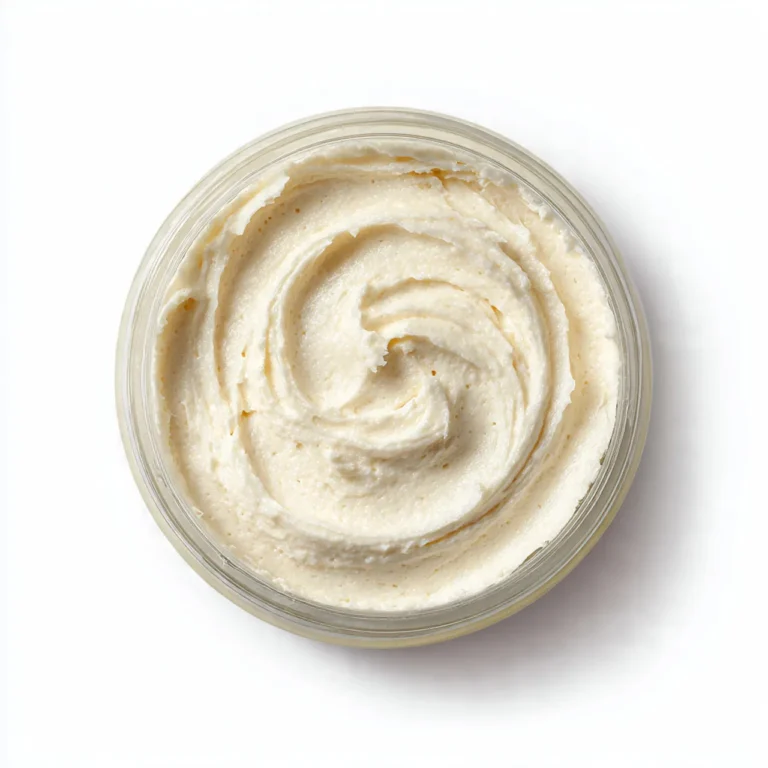
Taste your peanut butter and make any adjustments. If you like it sweeter or saltier, feel free to add little by little. Transfer to a jar when you’re satisfied, and it’s ready to enjoy!
Why This Recipe Works for Busy Days
Feeling rushed on weeknights? This homemade peanut butter recipe is a time-saver! Prep it in just minutes and store it in the fridge for quick breakfasts or snacks later. You can even make a batch ahead of time, so grab-and-go sandwiches or peanut butter toast become a simple delight on hectic mornings.
Tips & Tricks
- Storage Tip: Keep your homemade peanut butter in an airtight jar to preserve its freshness. If you’re doubling the batch, consider using a bigger container.
- Common Mistake: Over-processing can lead to oily peanut butter. Stop when you reach your desired creaminess.
- Adjusting Quantities: If you’re cooking for fewer people, you can easily halve the recipe without losing any flavor. For larger groups, just scale the servings up.
- Flavor Boost: Want to experiment? Adding cinnamon or cocoa powder can really elevate the taste!
Variations
- Meaty Version: Blend in some crispy bacon bits to create a savory-sweet spread that’s great on burgers or sandwiches.
- Vegetarian Option: Add ground flaxseed or chia seeds for extra nutrition and a delightful crunch in your peanut butter.
- Ingredient Swap: Use almonds, cashews, or sunflower seeds instead of peanuts for a nut-free version.
- Flavor or Herb Boost: Toss in a bit of vanilla extract or even a sprinkle of chili powder for a unique twist on classic peanut butter.
Serving Suggestions
- With Fruits: Spread on apple slices or bananas for an easy snack that kids love!
- On Toast: Top your favorite whole-grain bread with homemade peanut butter and a drizzle of honey.
- In Smoothies: Add a spoonful to your morning smoothie for a nutritional boost.
- Dessert Dipping: Serve with pretzels or graham crackers for a cozy movie night treat.
Storage Instructions
- Fridge Storage: Keep your peanut butter in the fridge for up to a month. Just make sure it’s securely sealed to avoid spoilage.
- Reheating: If it thickens, you can let it sit at room temperature for a few minutes or stir in a tiny bit of oil to soften it.
- Freezing: Peanut butter can be frozen for up to three months. Just ensure it’s in an airtight container and leave some room for expansion.
- Make-ahead Tips: Prepare a batch on the weekend so it’s ready for the week. Just remember to bring it to room temperature before enjoying!
Recipe Timing
Prep Time: 5 minutes
Cook Time: 2-3 minutes
Total Time: 8 minutes
Nutrition Information
Calories: 188-220
Protein: 8-10g
Rich in healthy fats and vitamin E.
Values are estimates and can vary based on ingredients or portion sizes.
FAQs
Can I make this ahead of time?
Yes, you can make it a few days in advance and store it in the fridge.
What’s a common mistake when making peanut butter?
Over-processing can lead to separation. Stop when you reach the right consistency.
Can I substitute ingredients?
Yes! You can swap peanuts for other nuts or seeds based on your preference.
What if it’s too thick?
Add a little vegetable oil or a splash of water to soften it up.
How long can I store it?
Keep it refrigerated for about a month, but it can be frozen for longer.
How can I adjust the flavor?
Taste as you go! You can always add a bit more sweetness or salt.
Conclusion
Making homemade peanut butter is truly an experience that brings warmth and comfort into your kitchen. It’s quick, customizable, and budget-friendly—you might never reach for store-bought again! As you spread the love with this simple recipe, remember to make it your own. Enjoy the process, and savor every bite.
Homemade Peanut Butter
Course: Butter Recipes4
servings5
minutes2
minutes300
kcalA simple, delicious recipe for creamy homemade peanut butter you can whip up in minutes. Perfect for spreading or dipping!
Ingredients
2 cups unsalted, dry-roasted peanuts
1-2 tablespoons honey or maple syrup (to taste)
1 tablespoon vegetable oil (optional, for creaminess)
A pinch of salt (to taste)
Directions
- Gather your unsalted, dry-roasted peanuts in a food processor or blender.
- Pulse for 2-3 minutes until the nuts become crumbly and then creamy.
- Add honey or maple syrup, vegetable oil, and salt, pulsing until you achieve a smooth consistency.
- Taste and adjust flavors as necessary. Transfer to a jar and enjoy